

Running Your First Environment
envd can build images automatically by reading the instructions from a build.envd. A build.envd is a text document that contains all the commands a user could call on the command line to assemble an image.
Usage
The envd build command builds an image from a build.envd. envd up command builds an image and runs immediately. Traditionally, the build.envd and located in the root of the context. You use the --path or -p flag with envd build/envd up to point to a directory anywhere in your file system which contains a build.envd.
$ ls
build.envd ...
$ envd build# Or you can specify the path.
$ tree .
./examples
└── mnist
├── build.envd
├── main.py
├── mnist.ipynb
└── README.md
$ envd build --path examples/mnistbuild.envd Example
The syntax of build.envd is Starlark, a simplified dialect of Python3. If you know Python, then you can write build.envd without an issue.
Here is an example of build.envd:
def build():
    base(dev=True)
    install.conda()
    install.python()
    install.python_packages(name = [
        "numpy",
    ])
    shell("fish")
    config.jupyter()
You don't need to worry about it yet. Let's explore how it works in the following sections.
Hello World
You can create a file build.envd in your project directory with these lines:
def build():
    base(dev=True)
    install.conda()
    install.python()
You can save the file and run envd up. Congrats! You get your first envd environment.
$ envd up
[+] ⌚ parse build.envd and download/cache dependencies 0.0s ✅ (finished)
[+] 🐋 build envd environment 7.9s (16/16) ✅ (finished)
 ...
 => exporting to oci image format                                      0.4s
 => => exporting layers                                                0.0s
 => => exporting manifest sha256:7ef2e8571485ce51d966b4cf5fe83232520f  0.0s
 => => exporting config sha256:abec960de30fce69dc19126577c7aaae3f9b62  0.0s
 => => sending tarball                                                 0.4s
⬢ [envd]❯
You can use ssh <project-directory-name>.envd to attach to the environment if you exit from the shell. This name can also be customized via envd up --name <custom-name>.
⬢ [envd]❯ exit
# to list the current available envd environments
$ envd envs ls
# to re-connect to the environment
$ ssh <project-directory-name>.envd
⬢ [envd]❯ # You are in the environment again!
Do not forget to remove the environment if you do not use it. Use the -p flag to specify the path of the environment to destroy.
$ envd destroy -p .
INFO[2022-06-10T19:09:49+08:00] <project-directory-name> is destroyed
build.envd
Let's have a look at build.envd.
def build():
    base(dev=True)
    install.conda()
    install.python()
build is the default function name in build.envd. envd invokes the function if you run envd build or envd up.
WARNING
A build.envd must have a build function.
base declares the expected operating system and language that you will use in the environment.
Install python packages
The envd install API function install.python_packages installs python packages in the environment:
def build():
    base(dev=True)
    install.conda()
    install.python()
    install.python_packages(name = [
        "numpy",
    ])
The function supports general pip syntaxs:
install.python_packages(name = [
    "numpy==1.4.1",
    "numpy>=1,<2",
    "numpy~=1.4",
])
Feel free to ask us in Discord if you get problems about packages installation. You can verify if it works:
$ envd up
⬢ [envd]❯ python3
Python 3.11.11 (main, Dec 11 2024, 16:28:39) [GCC 11.2.0] on linux
Type "help", "copyright", "credits" or "license" for more information.
>>> import numpy as np
>>> a = np.array([2, 3, 4])
>>> a
array([2, 3, 4])
Use zsh instead of bash
The envd API function shell configures shell program in the environment:
def build():
    base(dev=True)
    install.conda()
    install.python()
    install.python_packages(name = [
        "numpy",
    ])
    shell("zsh")
You do not need to configure zsh and oh-my-zsh manually, envd does it.
$ envd up
(envd) ➜  docs # zsh in the environment
Use Jupyter Notebook
Jupyter Notebook are a powerful way to write and iterate on your Python code for data analysis. The envd config API function config.jupyter helps you set up Jupyter Notebook in the environment:
def build():
    base(dev=True)
    install.conda()
    install.python()
    install.python_packages(name = [
        "numpy",
    ])
    shell("zsh")
    config.jupyter()
After the envd up command is executed successfully, check the address of Jupyter Notebook by envd envs list.
$ envd up --detach
$ envd get env
NAME                    JUPYTER                 SSH TARGET              CONTEXT                                 IMAGE                   GPU     CUDA    CUDNN   STATUS          CONTAINER ID
envd-quick-start        http://localhost:48484   envd-quick-start.envd   /home/gaocegege/code/envd-quick-start   envd-quick-start:dev    false   <none>  <none>  Up 54 seconds   bd3f6a729e94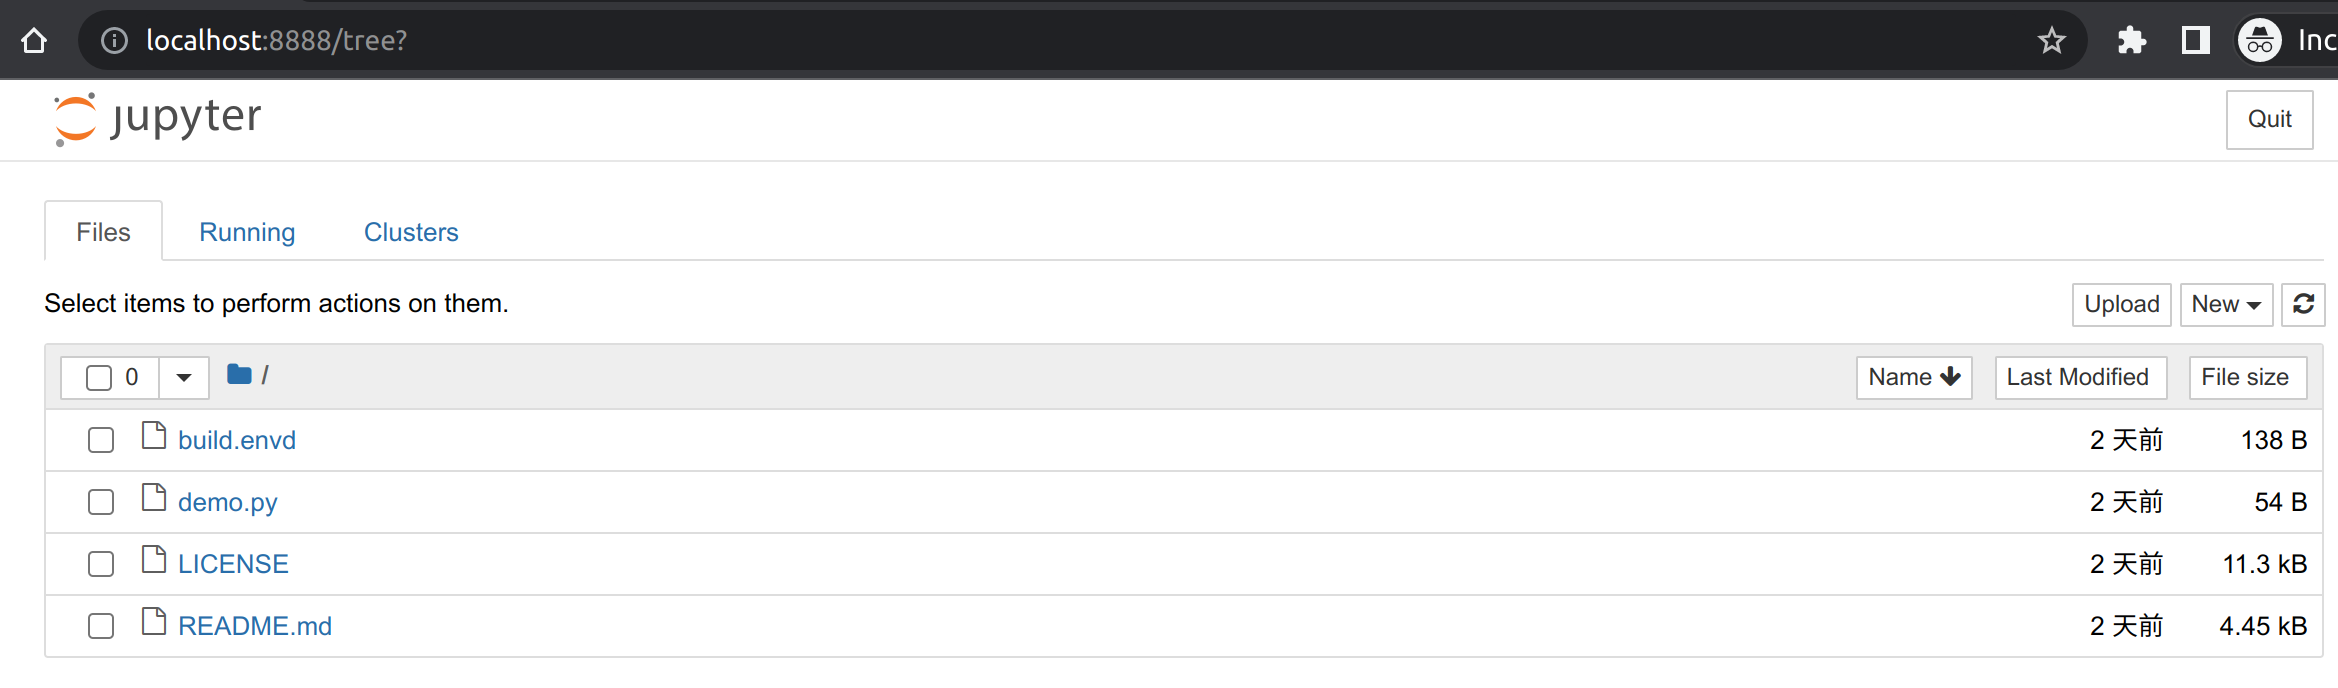
Set a PyPI index mirror (optional)
You can use the envd API function config.pip_index to set the PyPI index mirror if it is too slow to install the python packages via install.python_packages.
```python
def build():
    config.pip_index(url="https://pypi.tuna.tsinghua.edu.cn/simple")
    base(dev=True)
    install.conda()
    install.python()
    install.python_packages(name = [
        "numpy",
    ])
    shell("zsh")
    config.jupyter()
Then the packages will be downloaded from the mirror instead of pypi.org.
Complex build.envd example
def build():
    config.apt_source(source="""
deb https://mirror.sjtu.edu.cn/ubuntu focal main restricted
deb https://mirror.sjtu.edu.cn/ubuntu focal-updates main restricted
deb https://mirror.sjtu.edu.cn/ubuntu focal universe
deb https://mirror.sjtu.edu.cn/ubuntu focal-updates universe
deb https://mirror.sjtu.edu.cn/ubuntu focal multiverse
deb https://mirror.sjtu.edu.cn/ubuntu focal-updates multiverse
deb https://mirror.sjtu.edu.cn/ubuntu focal-backports main restricted universe multiverse
deb http://archive.canonical.com/ubuntu focal partner
deb https://mirror.sjtu.edu.cn/ubuntu focal-security main restricted universe multiverse
""")
    config.pip_index(url = "https://mirror.sjtu.edu.cn/pypi/web/simple")
    install.vscode_extensions([
        "ms-python.python",
    ])
    base(dev=True)
    install.conda()
    install.python()
    install.python_packages(name = [
        "numpy",
    ])
    install.cuda(version="11.2.2", cudnn="8")
    shell("zsh")
    install.apt_packages(name = [
        "htop"
    ])
    git_config(name="Ce Gao", email="cegao@tensorchord.ai", editor="vim")
    run(["ls -la"])
Next Steps
Congrats! envd is now setup for your project. Explore envd further!
Please ask us on Discord if you had any trouble using this guide.
Here are some quick links: